Minor Surgery on a Ricoh Theta V
14 June 2022 • by Bob • Photography, DIY
I just ran into a weird issue with a somewhat easy resolution that I thought I'd share:
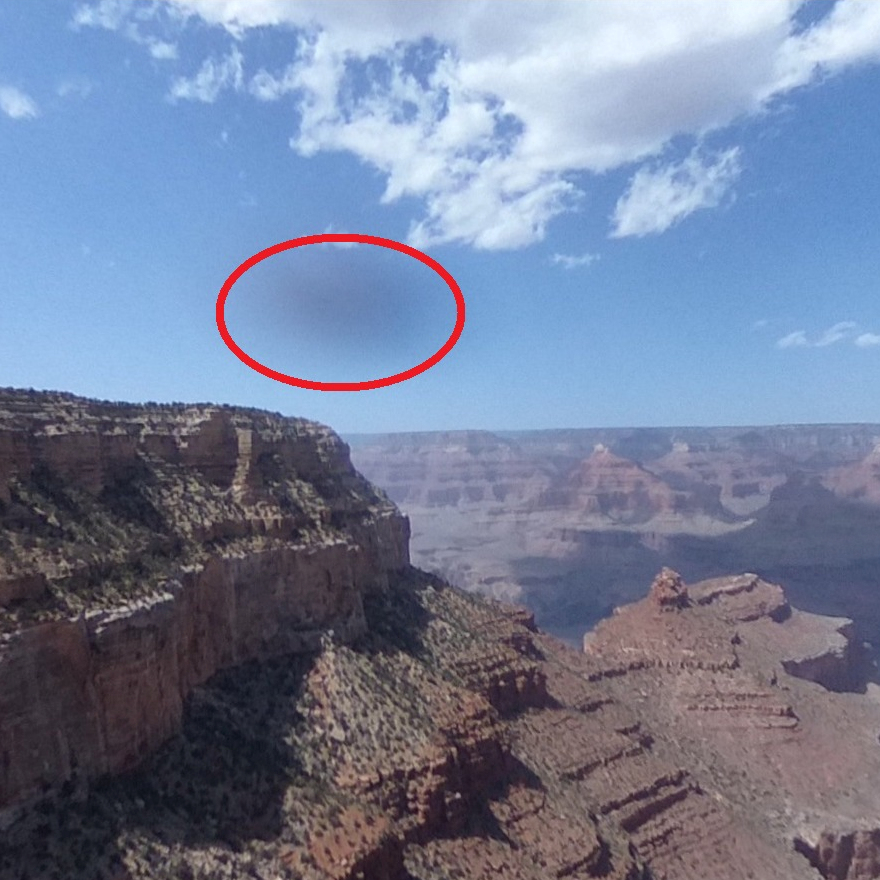
One of my "fun" cameras is a Ricoh Theta V 360 camera, which is what I used to create several 360-degree images that I took at the Grand Canyon recently. However, when I looked at my images from that trip, there was a light shadow in each of the final images.

Upon inspecting the camera, there was a tiny scratch on the surface of the lens. I'm not sure how that happened, but any images in the future would have had similar shadows. A quick scan of eBay yielded a replacement lens for around $40, and the following video provided the instructions for swapping the new lens for the old.
Since the video has all the images you need to see, I didn't bother to take any photos, but I thought that I'd share a few notes about the steps involved:
- Remove the base from the camera; probably best with a hobby blade that you can easily slide underneath.
- Remove the four screws from the bottom; you need a fine point philips screwdriver for this.
- Open the case; I used a guitar pick to open the case, but you should make sure to use something non-metallic so that you don't damage anything inside the camera.
- Remove the lens; once again, you need to use something that won't damage the camera.
That's about it. Long story short, after 20 minutes of relatively easy labor, my camera is back up and working.
FYI: If you'd like to see the full 360-degree Grand Canyon image, you can click here.