IIS 6: Setting up SSL - Part 3: Installing the Certificate
17 February 2011 • by Bob • IIS, SSL
In part three of my series on setting up SSL on IIS 6, I'll describe the steps that are necessary to install an SSL certificate. Simply out of convenience I broke this process into two sections:
- Installing Your Certificate (Required)
- Verifying Your Certificate (Optional)
Installing Your Certificate
- Bring up the properties for a website:
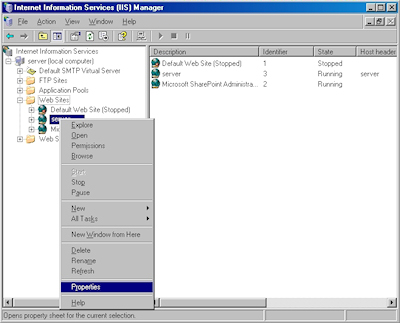
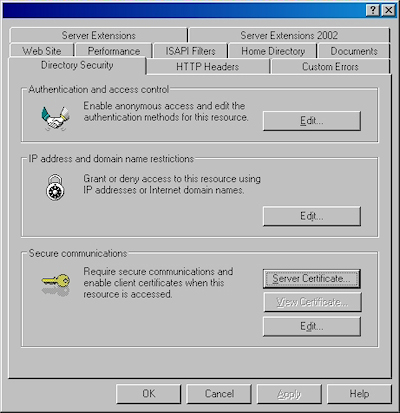
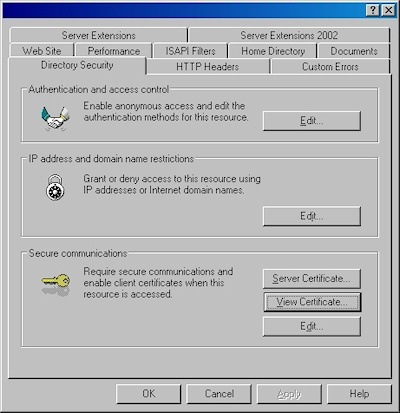
- Switch to the "Directory Security" tab and click "Server Certificate:"
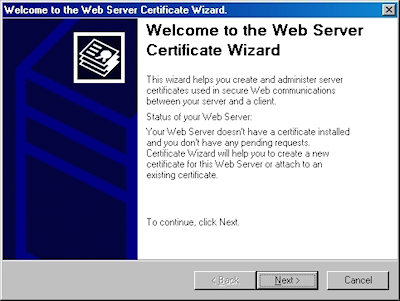
- Click "Next" to bypass the first page:
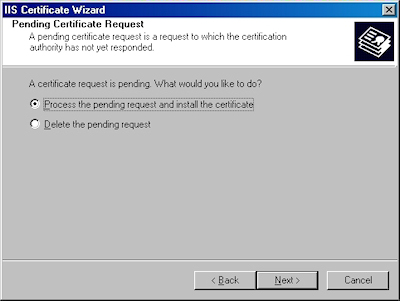
- Choose to process the request and click "Next":
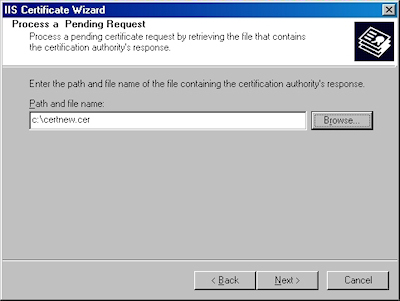
- Click "Browse" to the locate your certificate request:
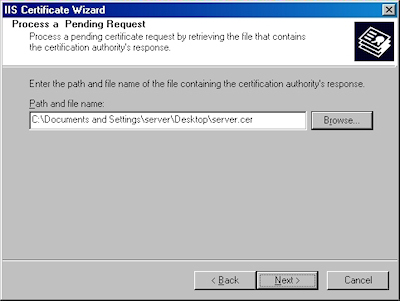
- Browse to the location of your certificate, highlight it, and click "Open":

- Verify the location of your certificate and click "Next":
- Choose your SSL port and click "Next":

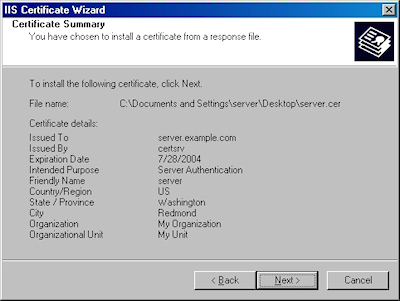
- Review the information to make sure it is correct and click "Next":
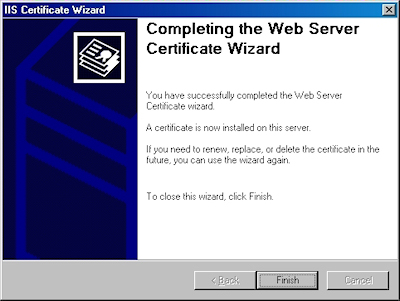
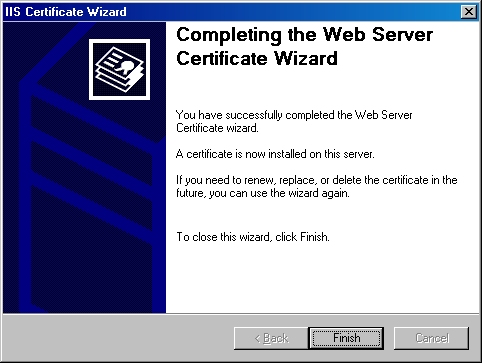
- Click "Finish" to close the wizard:
- Notice that you now have all the buttons available for SSL.


Verifying Your Certificate
- Click the "View Certificate" button:
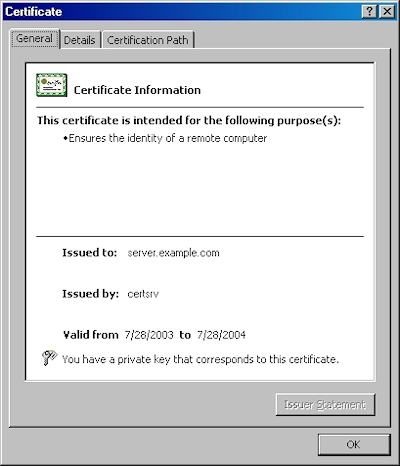
- On the "General" tab, if the certificate is good you will see a normal certificate icon. (If no, you will see a warning or error icon.)
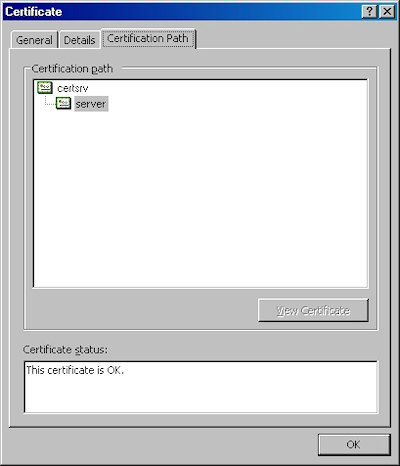
- On the "Certification Path" tab you will see your certificate hierarchy:


That wraps it up for creating, submitting, obtaining, and installing a certificate. In subsequent blogs I'll post some appendices with instructions about setting up Certificate Services on Windows Server 2003.
Note: This blog was originally posted at http://blogs.msdn.com/robert_mcmurray/
Tags: IIS, SSL, Certificates
Disclaimer
All content within this blog represents my personal views and opinions only. This content is not intended to represent the views, positions, or strategies of my employer or any other organization with which I may be associated. All content and code samples are provided "as is" without warranty of any kind.